Data Entry Administrators have access to 6 functions within the “Import Batches” section of the Graphium Collector™ Dashboard. Below are instructions on how to review and correct form errors within pending batches and ensure they make their way to completion.
Objective
- Utilize the “Import Batches” section of the Graphium Collector™ Dashboard in order to review and correct form errors within pending batches and ensure they make their way to completion
Goals
- Review form errors within batches that are pending completion on a monthly basis.
- Review and ensure all batches created have been completed on a monthly basis.
Directions
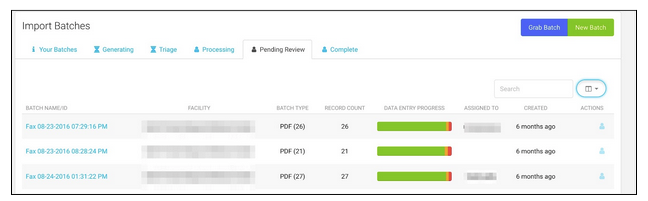
Review Pending Form Batches
- Login to the Graphium Collector™ Dashboard:
https://dashboard.graphiumemr.com/login - To review pending batches, click on the blue filename on the left side under the “Batch Name/ID” column.
- The Batch Details will appear:
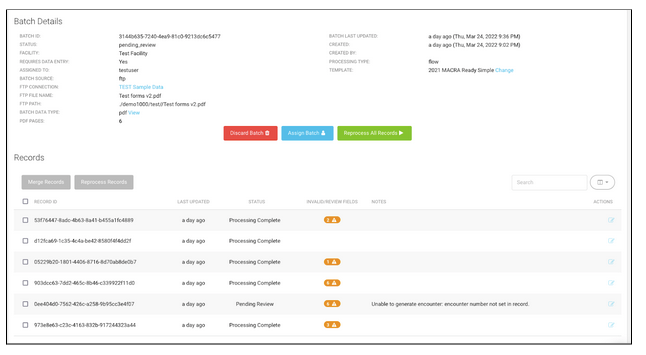
- Each individual Record (form) ID will be listed on the left. If a form contains enough data for submission to CMS, the "Status" column will state "Processing Complete". However, we still recommend reviewing all forms with an orange caution triangle, as that denotes data provided within the form was illegible or needs further clarification.
- If a form does not contain enough data for submission to CMS, the "Status" column will state "Pending Review" and may contain either an orange or red caution triangle. A red caution triangle denotes fields within the form were left blank or are missing data. Note: forms marked as "Pending Review" will not be submitted to CMS, unless errors have been corrected and the form reprocessed.
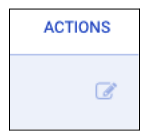
- Click on the pencil icon to the far right of the table under the “Actions” column.
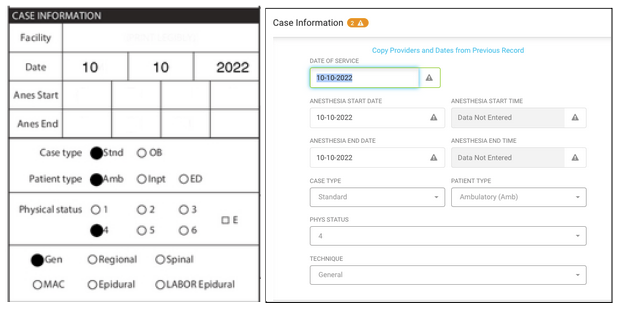
- A copy of your form will appear on the left and 8 areas of data entry will appear on the right. Each area will be marked with an icon which indicates its status and should match the icons mentioned above (red lightning bolt for missing data, orange caution triangle for fields pending review, and a green check mark for complete).
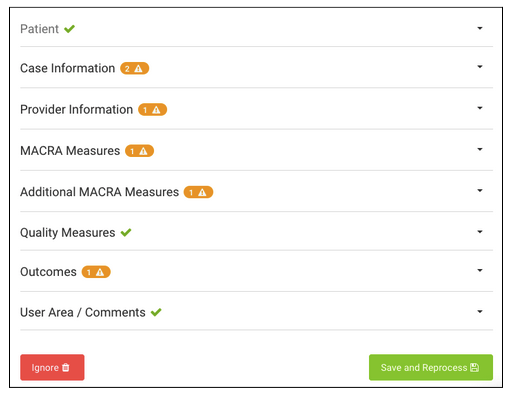
- You will want to click on the title of any section marked with an orange triangle or red lightning bolt, for review.
- You will notice that the data entry area has input fields which correspond to your form on the left.
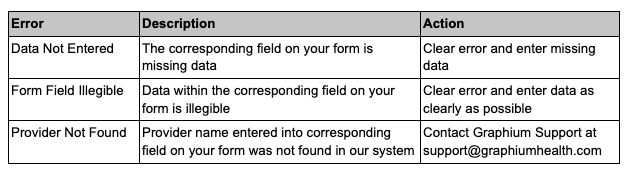
- The number within the orange warning triangle will notify you of how many fields in that section need your attention. Below is a list of errors you may see, along with a brief description of each and the action you should take to correct the error.
- To clear an error, click on the gray exclamation point triangle next to the error, and a drop down menu will appear.
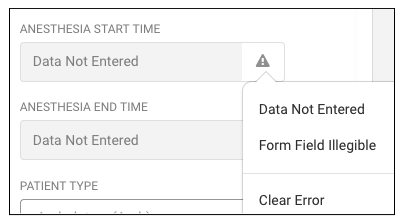
- Select “Clear Error” and the field will become interactive. Input the correct information, and move on to the next error. Note: if you complete all the necessary fields, a green check mark will appear next to the field name.
- Sometimes documents that are not patient forms (i.e. clinic schedules, patient surveys, patient waivers, etc.) accidentally get scanned and submitted within a batch for processing. If the document you are reviewing happens to not be a patient form, you can click the red “Ignore” button in the bottom left corner of the screen, and the document will be discarded.

- Once all errors have been corrected, click the green “Save and Reprocess” button in the bottom right corner.

- You should be redirected back to the Batch Details screen, where you can select any other remaining forms with errors.
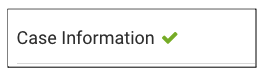
- If a form is complete and needs no further review, the "Status" column will state "Processing Complete" and the “Invalid/Review Fields” column will be blank.
- Once you have reviewed and corrected all necessary forms, and there are no remaining warning symbols under the Invalid/Review Fields column, click the blue “Return to Batches” link in the top left corner.
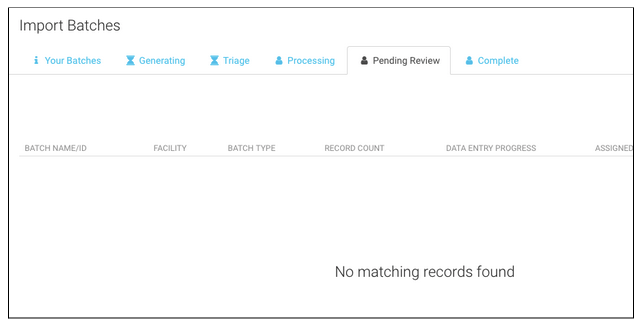
- You should be redirected back to the “Import Batches” screen, where you can once again click the “Pending Review” tab and review more batches as necessary.
- Once you have reviewed and corrected all errors within all pending batches under the “Pending Review” tab, your screen should state “No Matching Records Found”.
Data Entry Administrators should review form errors within batches that are pending completion on a monthly basis. Please note: forms left in a "Pending Review" state for longer than 1 year will automatically be ignored and will not be processed or sent to CMS.
Ensure Form Batch Completion
- Once you have completed the pending review process, click on the “Complete” tab. A list of all your completed batches will appear.
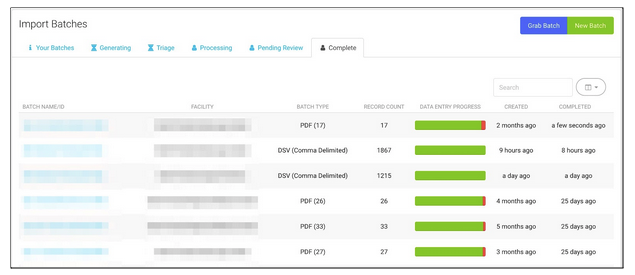
- Under the “Data Entry Progress” column, all bars should be either completely green or contain a small amount of red if there was a document within that batch you ignored/discarded.
- It is possible a batch of forms moves to the "Complete" tab yet still contains orange warning symbols. This means the data entry fields in question were not required to process the form in Graphium's system, and the form will be submitted to the QCDR as is.
- Cases with warning symbols may still be corrected even after they move to the "Complete" tab. Simply click on the applicable batch within the "Complete" tab, find the case in question, and proceed with correcting warning symbols as directed above in this article.
Data Entry Administrators should review and ensure all batches created have been completed on a monthly basis.